If you have been following my blog for a while, you know that I LOVE the Williams Sound Pocketalker! If you have recently purchased one, I encourage you to read my list of basic tips on how to use the Pocketalker
Once you are familiar with the Pocketaker, these “Advanced Tips for Using a Pocketalker” will help you learn ways to adapt your Pocketalker to your listening needs. With a little creativity, you’ll find the Pocketalker can help you hear better in many challenging situations.
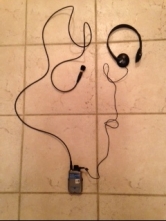
1. Use a lapel microphone. You can remove the plug microphone and insert a lapel microphone. Clip it to the collar of the person you are talking to and background noise will be reduced while the speaker’s voice is amplified. This is very effective in the car and in a restaurant. For more about this see my blog post: Noisy Restaurant – Recipe for Success 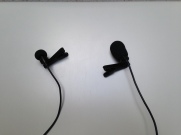 omni-directional mic on left (my favorite) and directional mic on right
2. Use a conference microphone. A conference microphone such as the Centrum Sound Single Conference Microphone or the Centrum Sound Dual Conference Microphone can be placed on a table at a meeting. It will pick up sound from people sitting around the table. This is excellent in a meeting where one person speaks at a time. I do not recommend it for a noisy room or a restaurant.
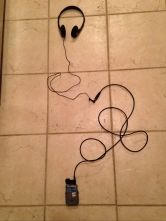
3. Use an extension cord. The Pocketalker comes with a 12-foot extension cord for watching TV. This is too long to use to talk people around a table or sitting in the living room. At Radio Shack you can buy a 3-foot or a 6-foot audio cord. This will extend the reach of the Pocketalker and let you pass it around a table or hand it to someone sitting too far away to hear.
There are two ways to do this. You can use the extension cord between the headphone jack on the Pocketalker and your headphones (or neckloop) or you can remove the plug microphone from the Pocketalker, plug it into one end of the extension cord and plug the other end of the extension cord into the microphone jack of the Pocketalker.
4. Create a “microphone stand.” Using a 3-foot cord between the microphone and the Pocketalker and the stick-on clip that is included for listening to TV, you can place the microphone in a vertical position to better pick up talk around the table.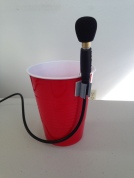 I always carry a tote bag for my listening devices so I just added this plastic cup to my collection. I put my car keys in the cup to stabilize it…………and so I don’t accidentally leave my fancy microphone stand.
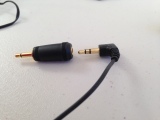
5. More tips. The Pocketalker is a mono device. The Williams Sound headphones and earbuds have a mono plug. If you want to use your own stereo headphones or earbuds, you need a stereo to mono adapter (available at Radio Shack – Part # 274-882 or 274-368.)
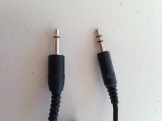 Mono plug has one black line.
Stereo plug has two black lines.
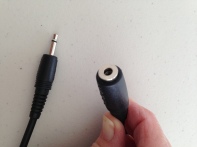
Here is a close-up of the type of extension cord (audio cord) you can use for expanding your reach.
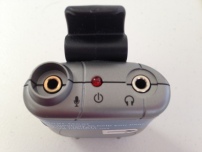
The microphone and headphone jacks have tiny pictures that are difficult to see, but just remember that the microphone jack has a raised base.
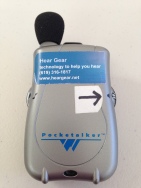
It may be helpful to draw an arrow pointing to the on/off and volume control. The knob on the other side is for tone and can usually be set once and left alone.
Now you are a Pocketalker expert! If you have other creative techniques for using the Pocketalker, please share your ideas below!
Filed under: Uncategorized | 3 Comments »


